


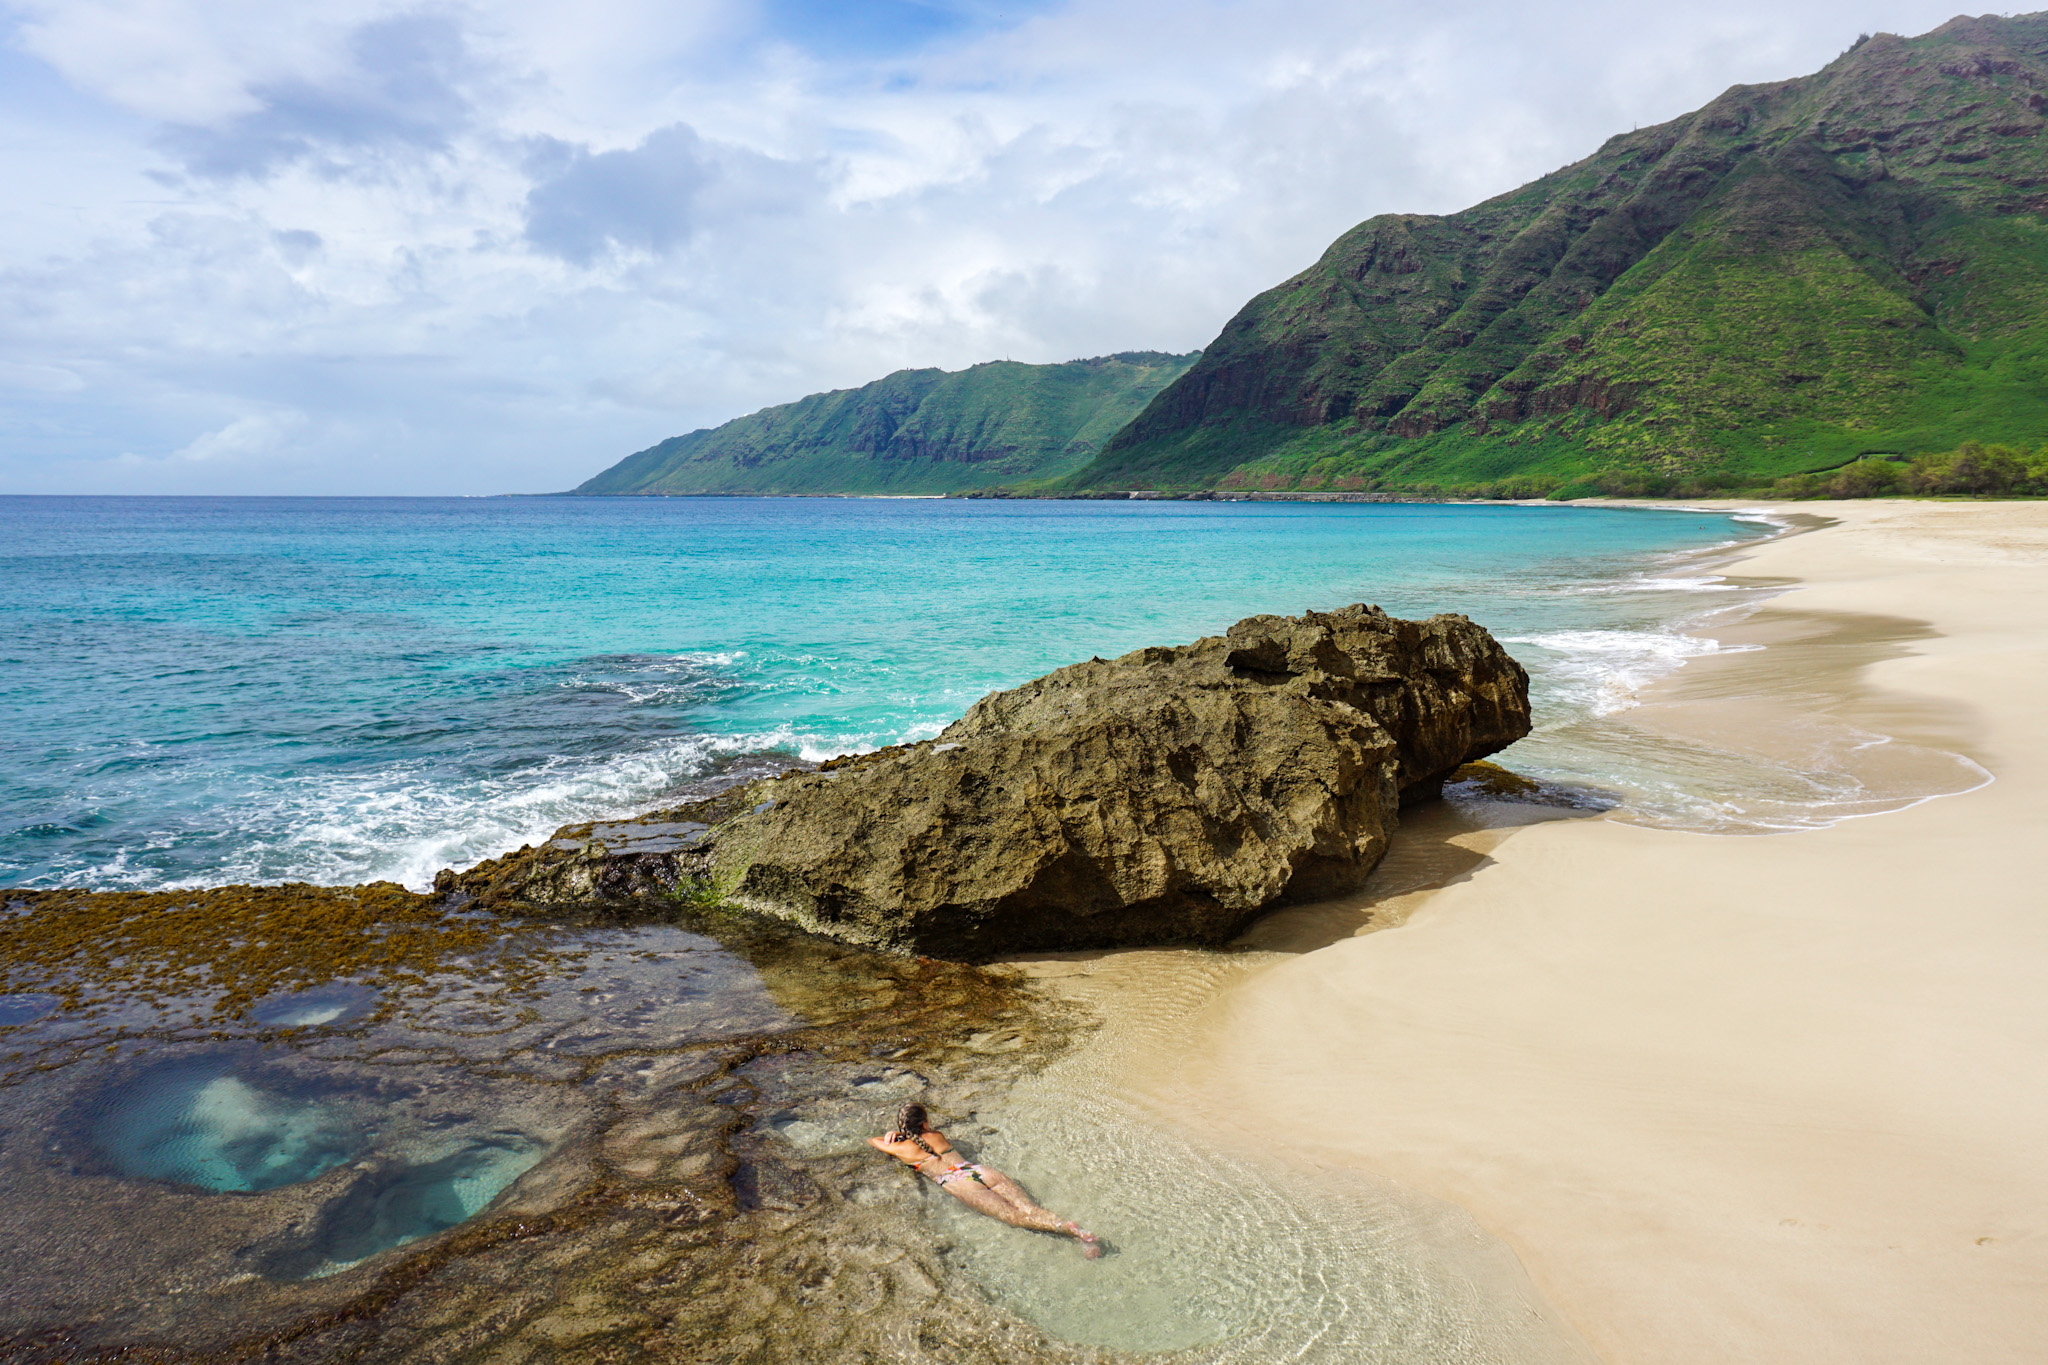
There are endless activities and places to see during a trip to Oahu, and it
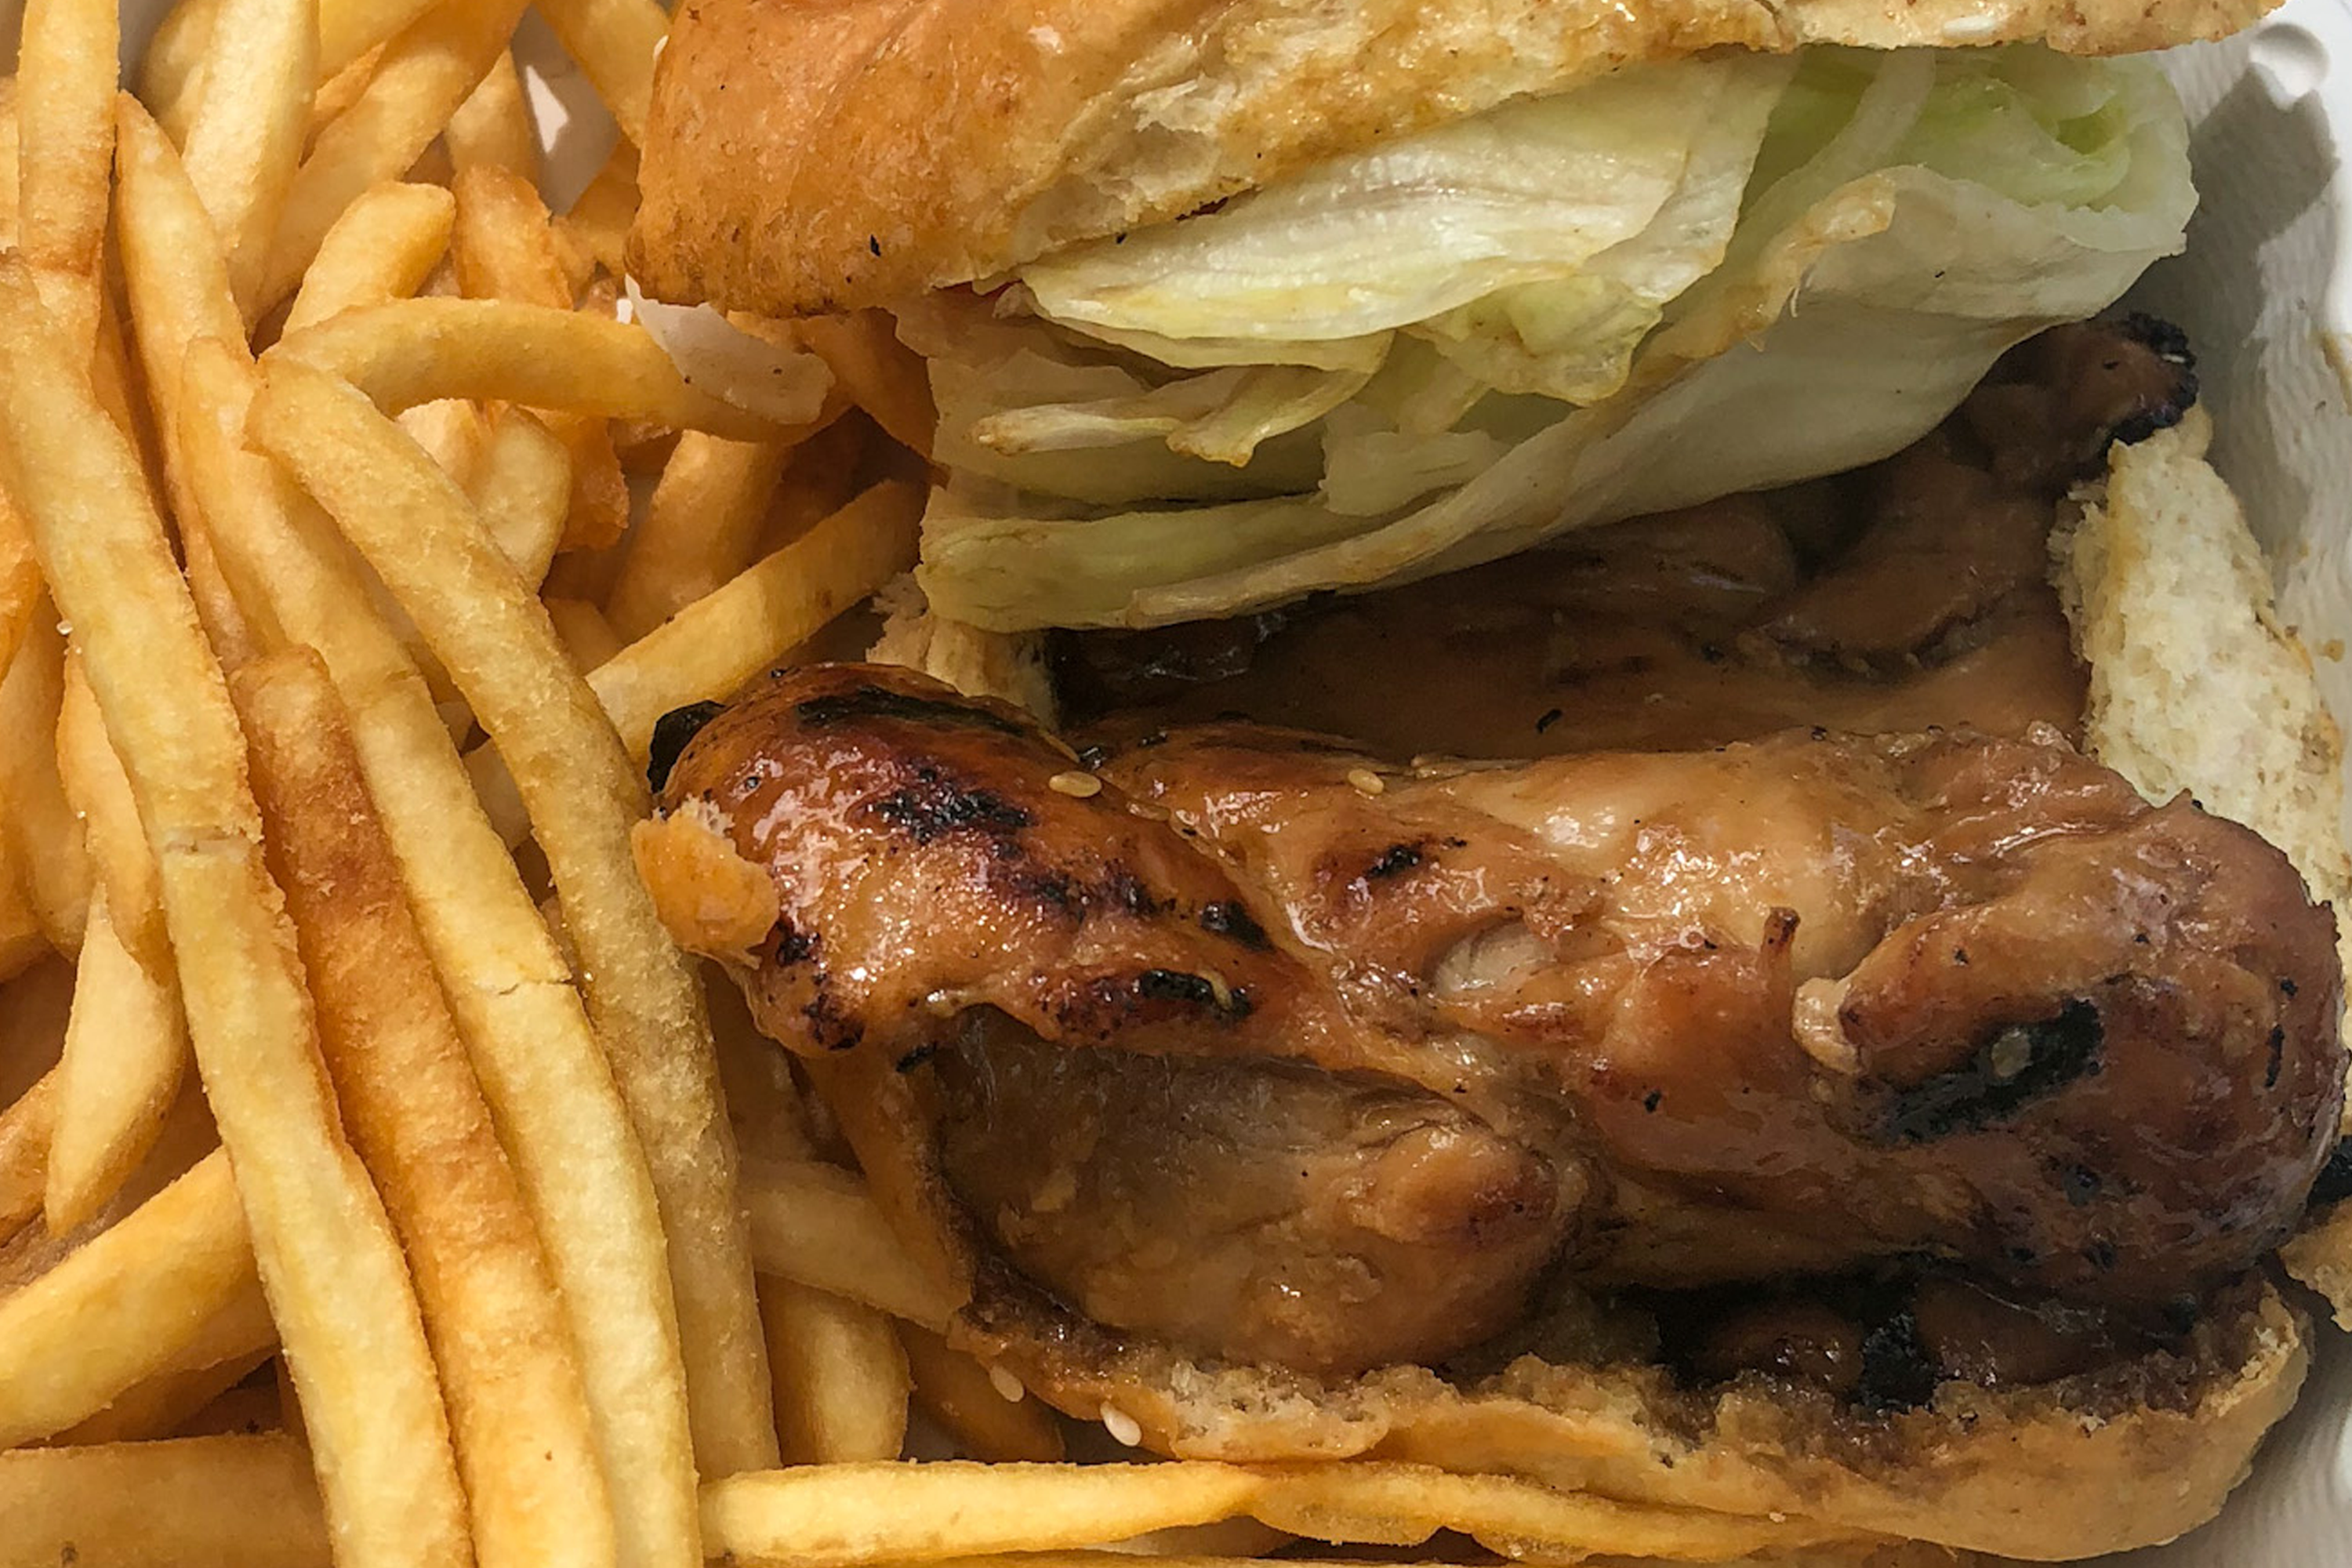
You’ll find more than just baked goods at Ted’s Bakery on Oahu, Hawaii. This North
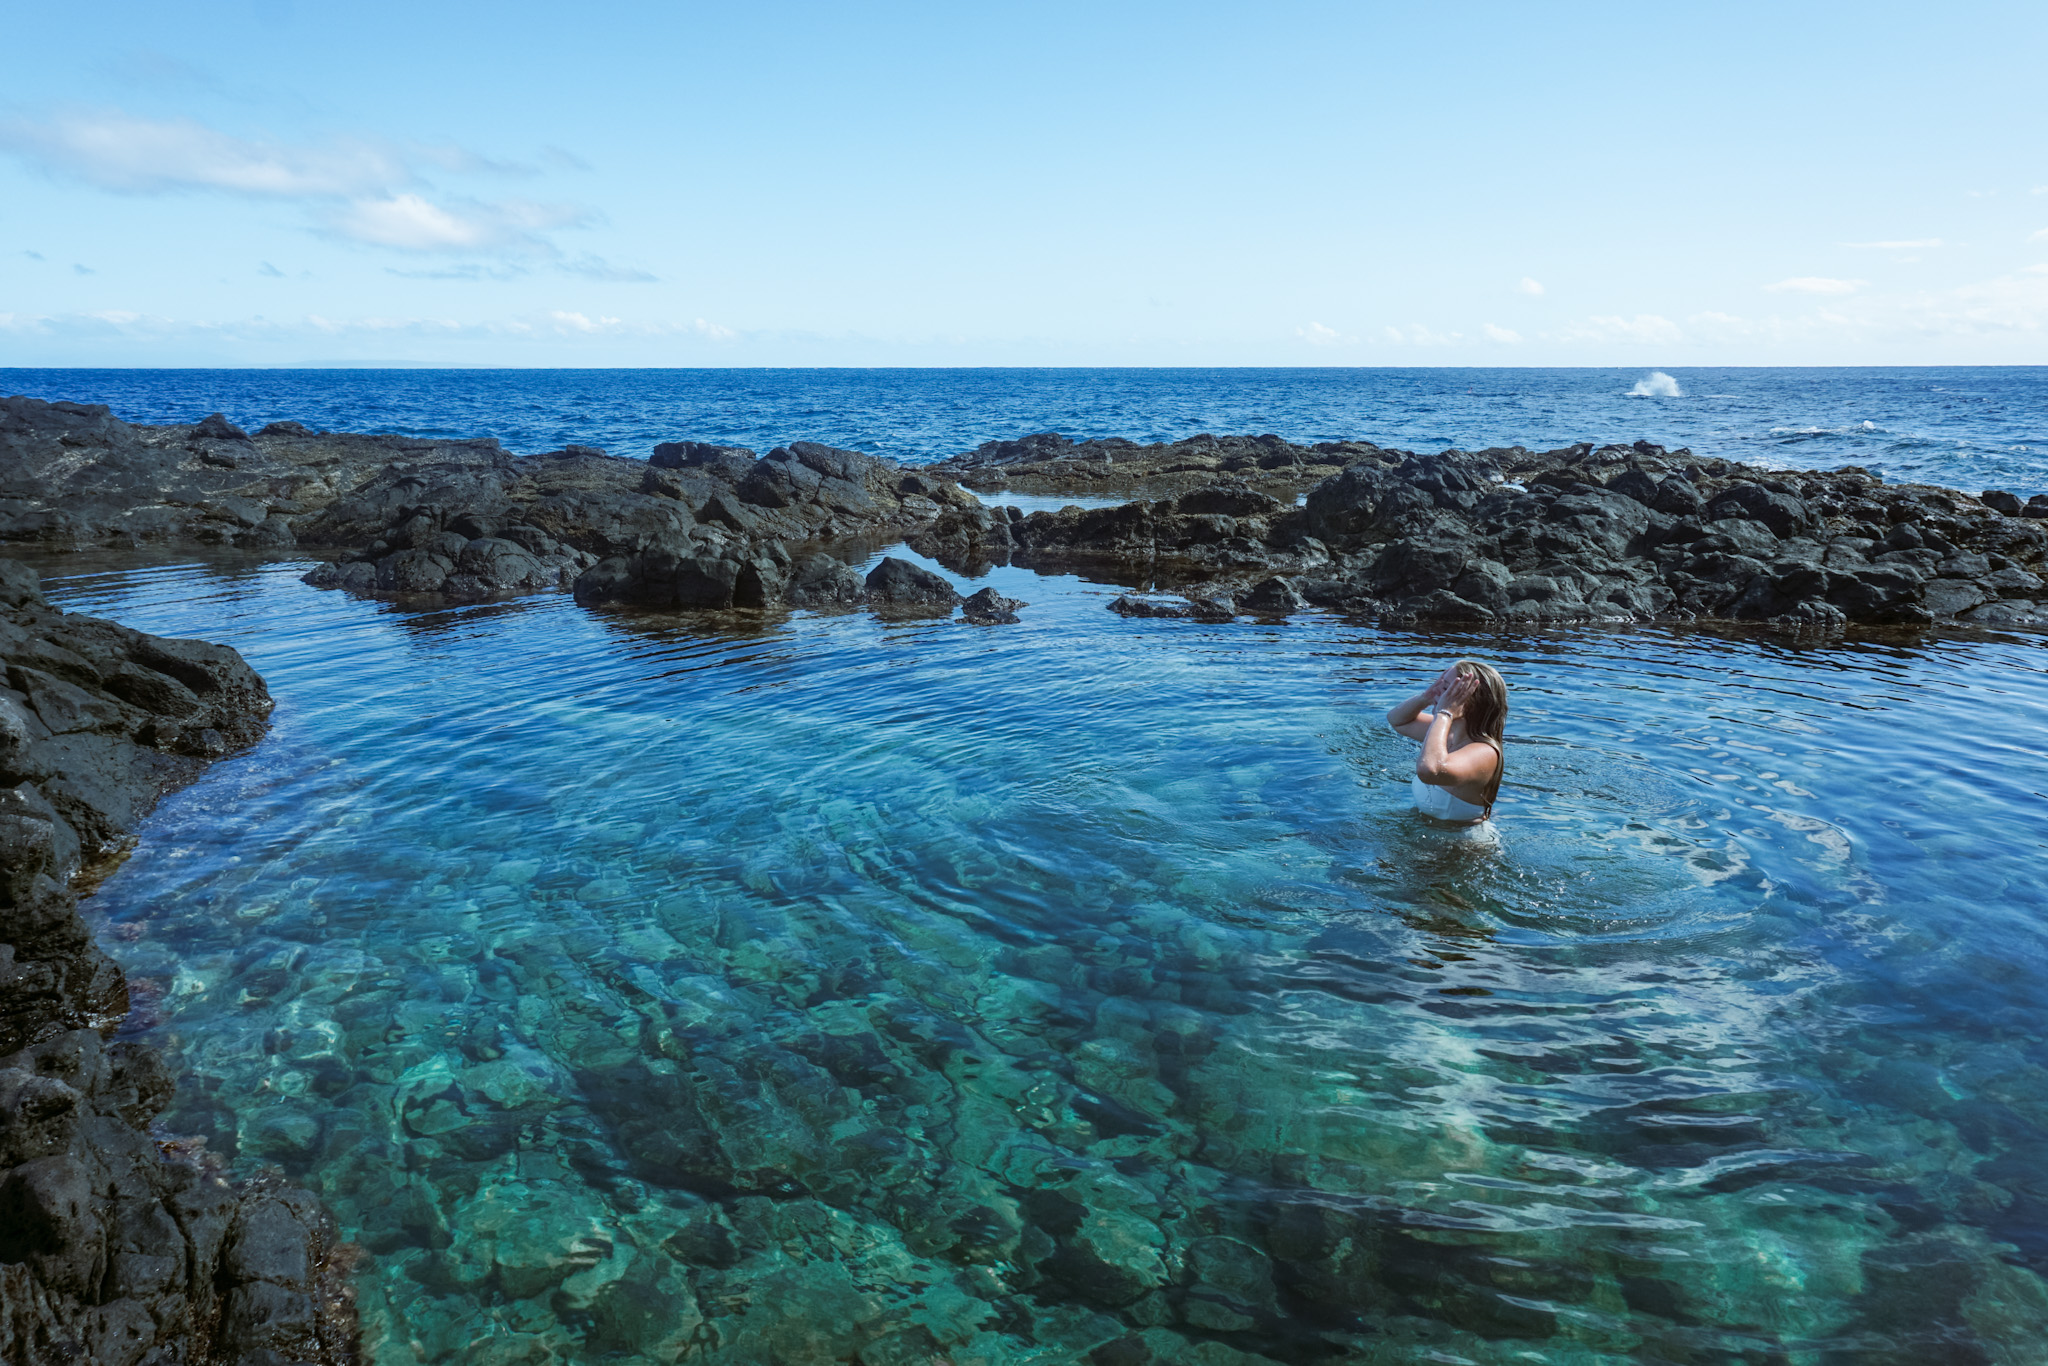
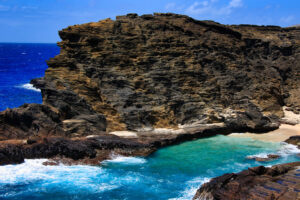
One of the most beautiful places to explore on Oahu are the crystal clear tidepools
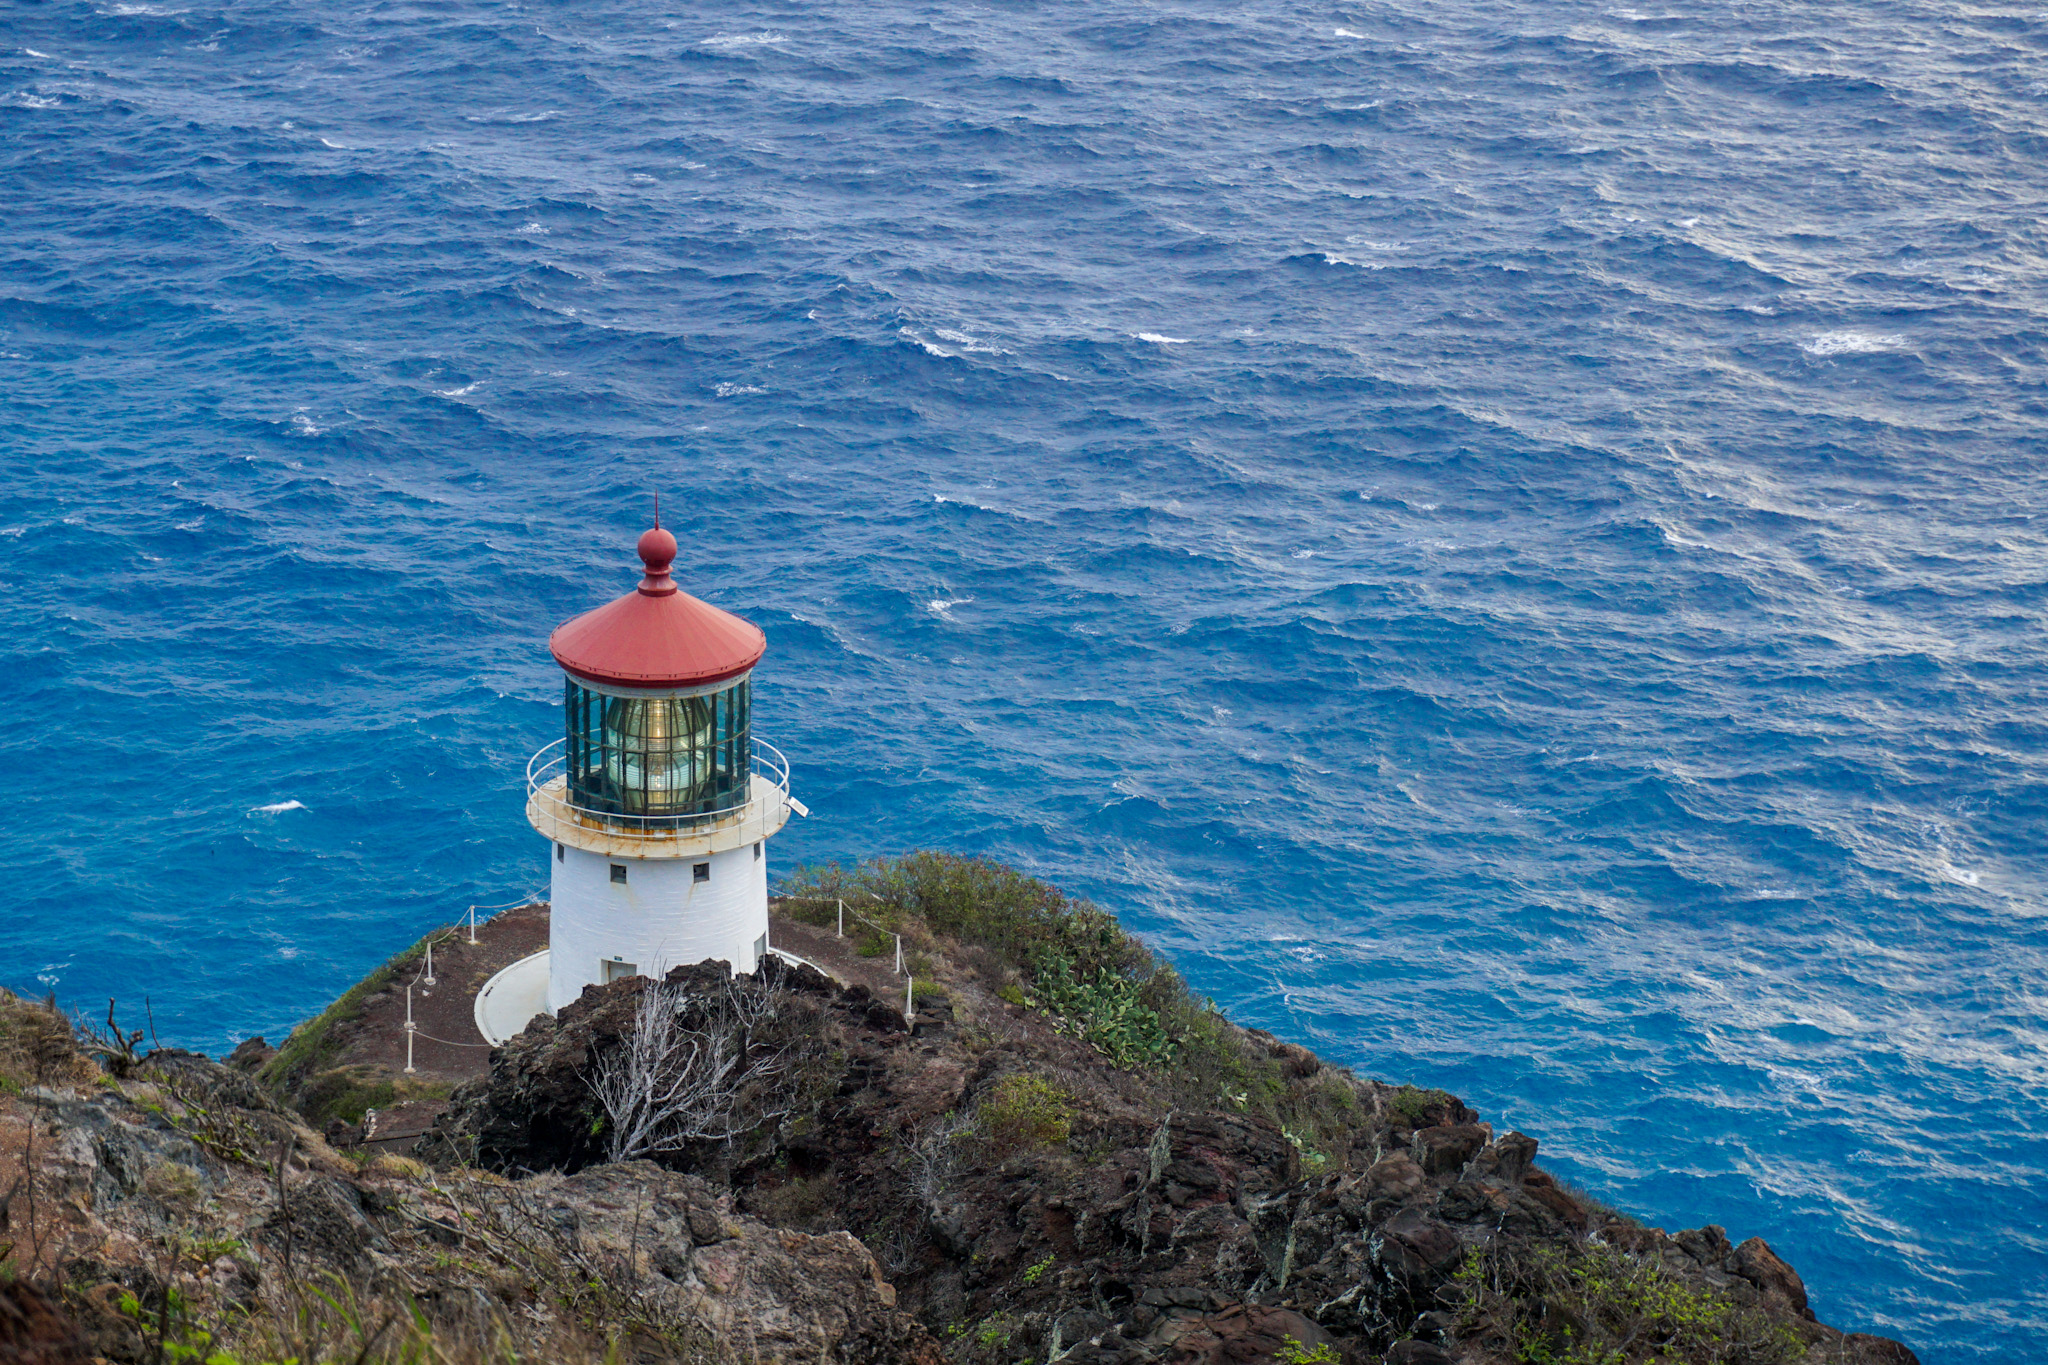
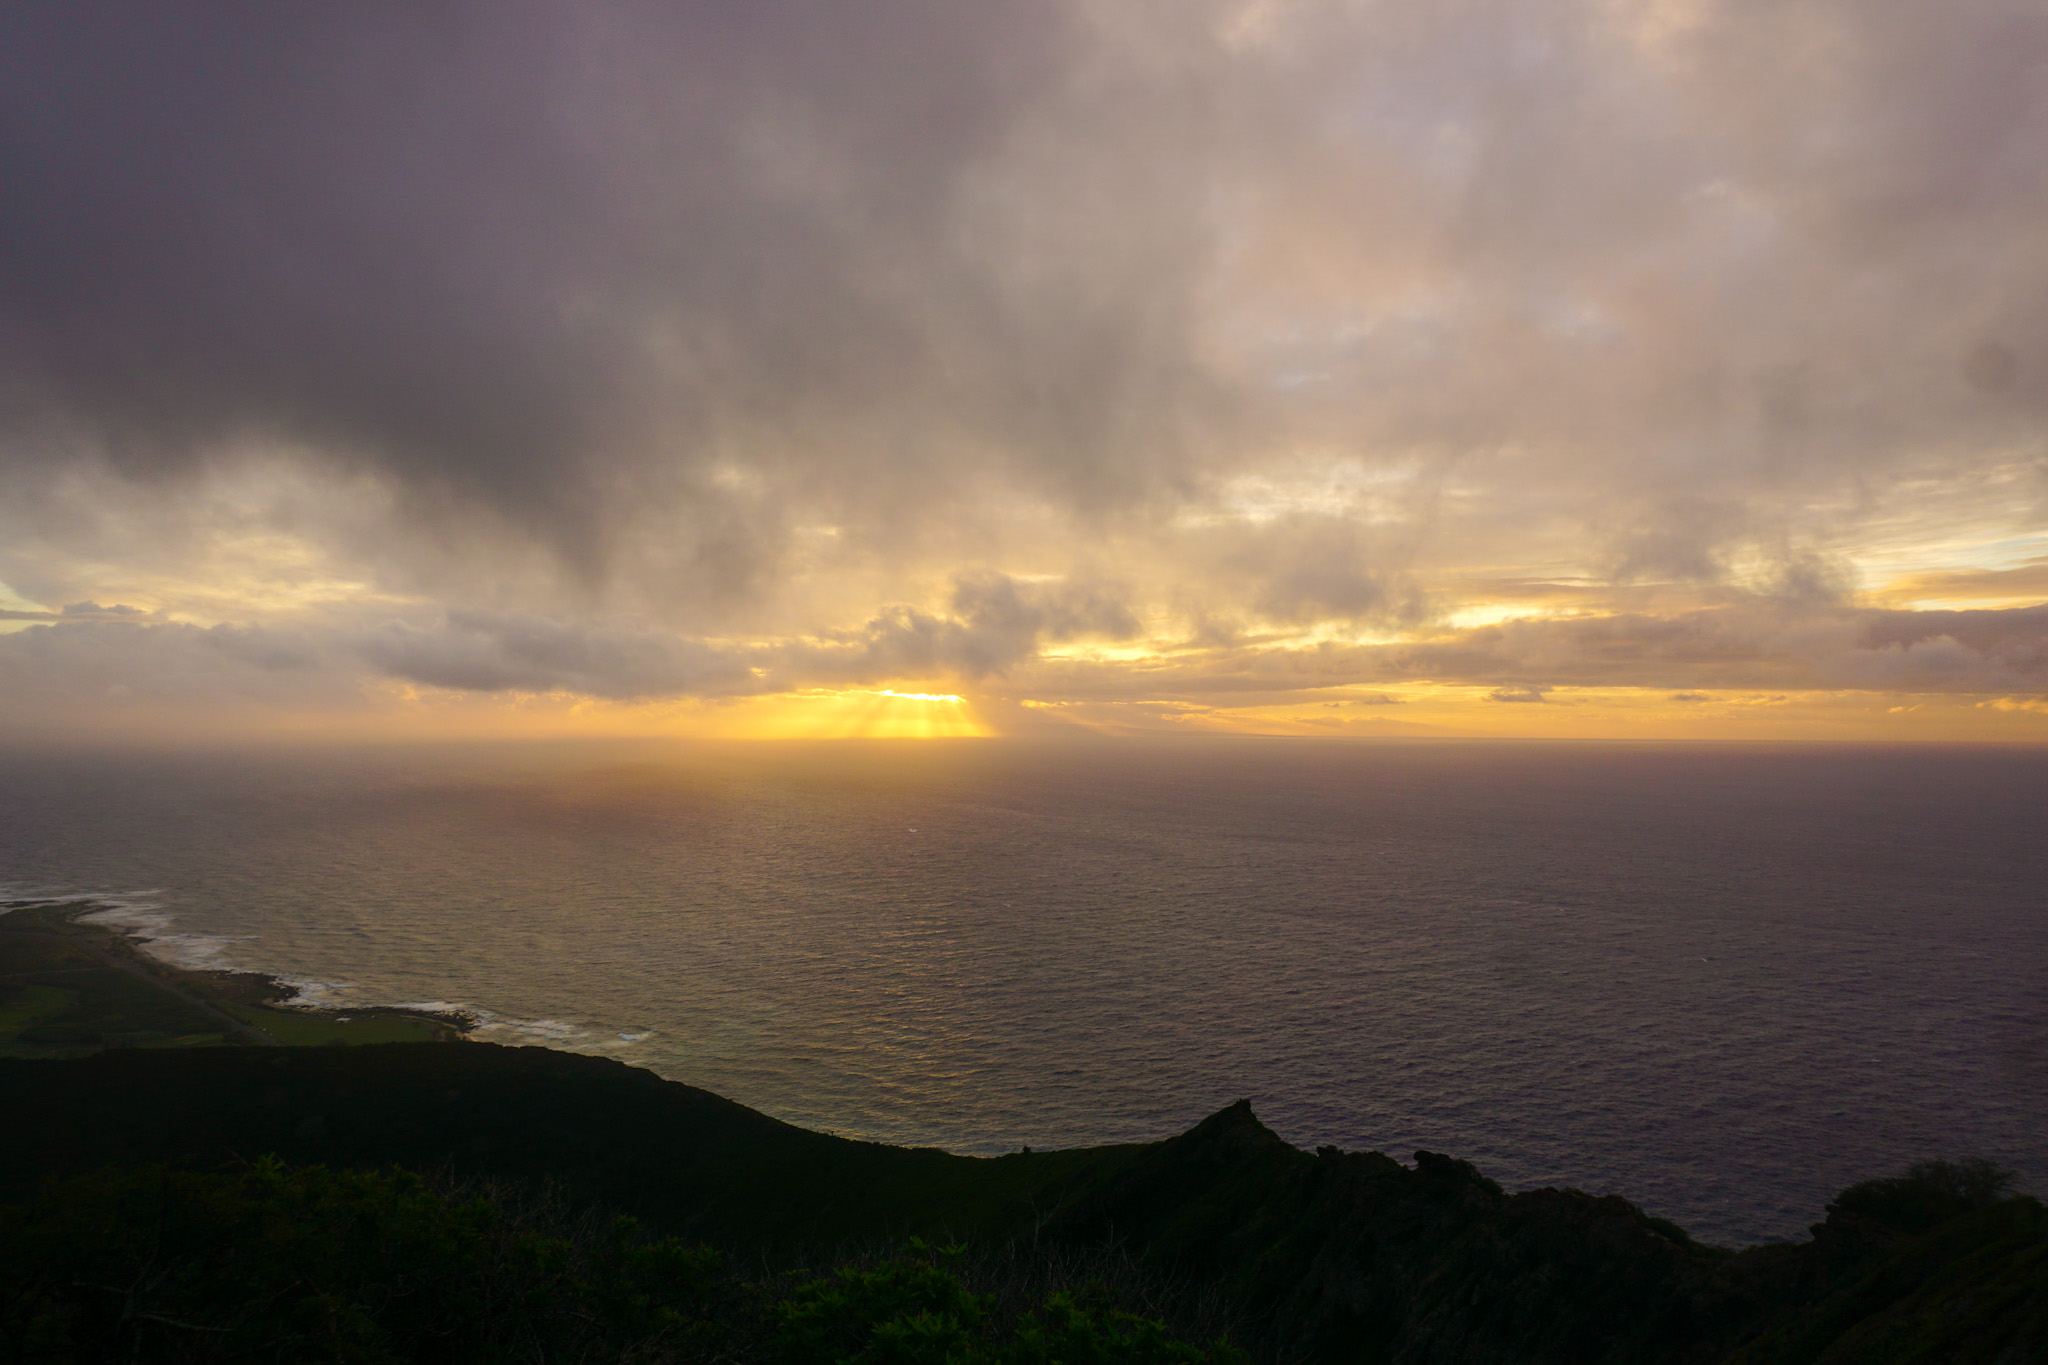
The Makapu’u Point Lighthouse Trail, also known as the Kaiwi Scenic Shoreline Trail, is an


2 Responses